|
Welcome to the HOn3
|
||||||||||||||||
Homepage
CLUBS
LAYOUTS AND MORE
TECHNIQUES & RESOURCES
|
Welcome to And we did it, so Lets Begin
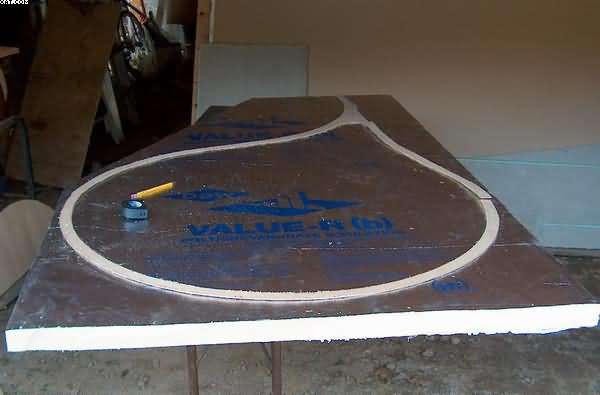
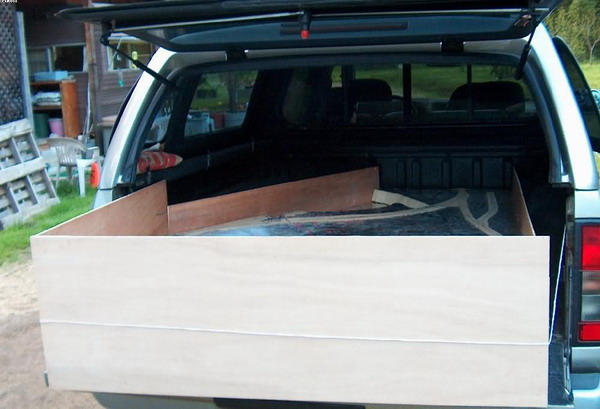
April 23rd At this point, after a few coffees and lunch, which by the way was great Spaghetti, we came back, attached a birch 1/4 plywood siding to match the club standards and at the end where it will mate with the club, we attached the standard 3/4 plywood profile board. Below you can see the module at this point. The high sides will be cut down to match the terrain
April 27th Today we built the leg
mounting points using the club standard legs, which sit flush to the outer
edge. We use permanently mounted bolts, washers, wing nuts and a locking nut
to hold everything on. No need to worry if anyone brought the wing nuts to
the show. After mounting the legs, we start to strengthen the sides with
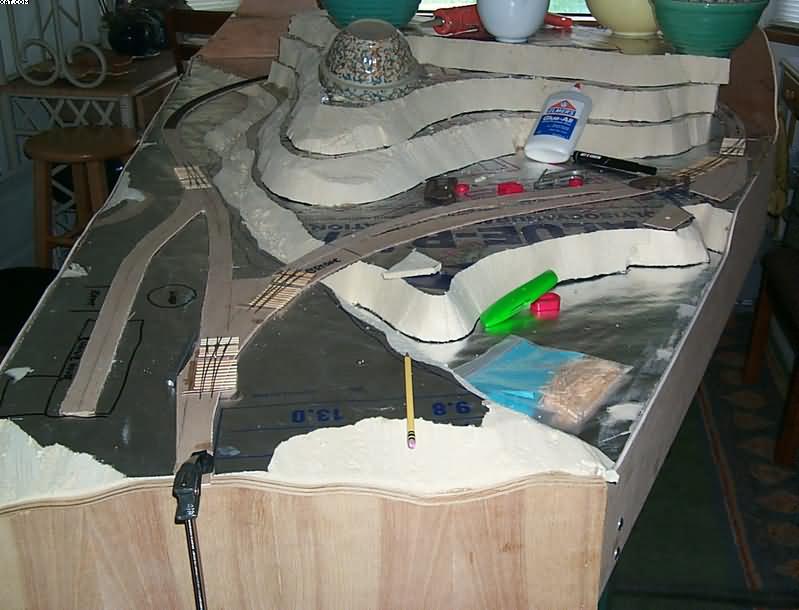
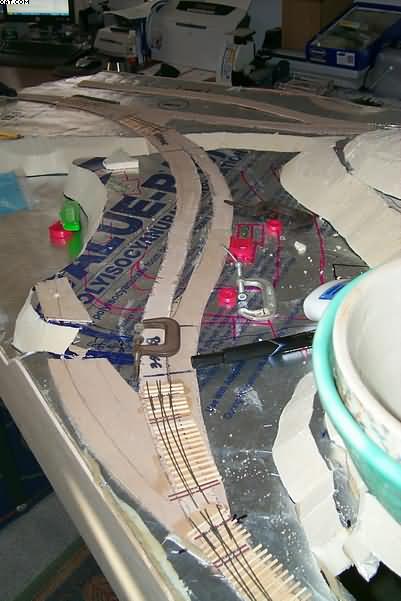
1"x2" wood. April 28th Today we glued the ties to the roadbed for the turnouts and cut and glued 2 more courses for the terrain. Then we cut out the river bed and cut the sides to match the terrain. The green box cutter in the pics below is in the area where the wharf will be built and placed. The leftovers from a Campbell's Wharf kit will be used.
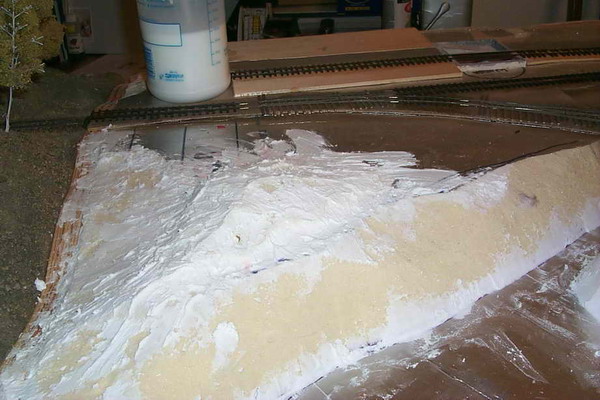
May 3rd By now the main terra is formed by the foam. So now we can start to shape the foam and add in areas with spray insulating foam. At this point we have carved in the foundations for the town that will crawl up the hill above the wharf. Little did we know where we would go with this module in the next week.
We also start installing the turnouts at this point and have painted the luan/roadbed earth brown.
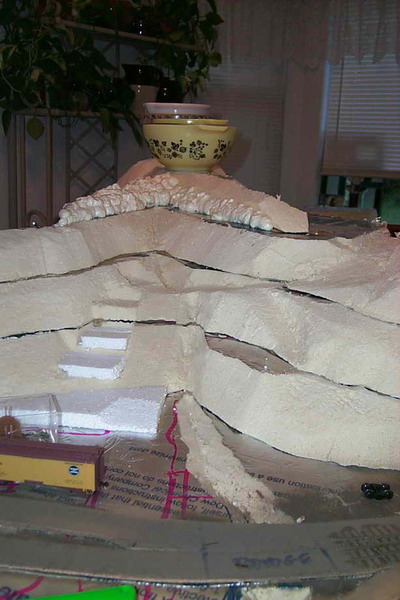
Once you have the foam shaped, you need to smooth it out and fill in the small voids and bubbles. Here we use lightweight spackle. Works wonders and is easily filed later.
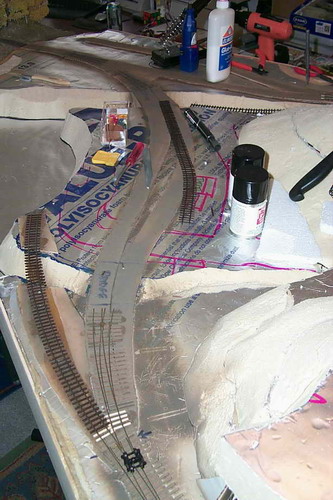
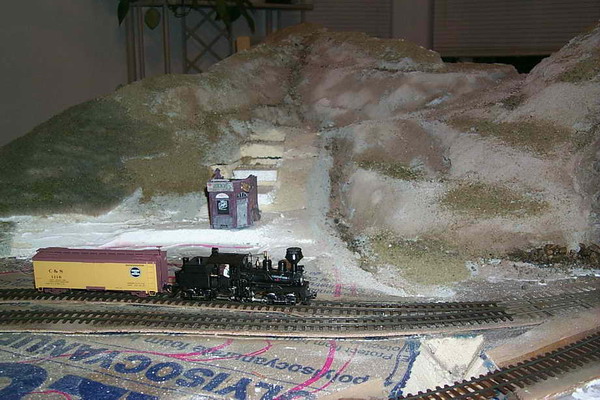
May 5th We have picked out a color for the earth that will be painted on the foam. It is just a cheap earth colored latex from Wal-Mart. $4.44 a quart, can't go wrong with that. Then while the color is wet, we sprinkle on earth and then a grass texture. The earth is a combo of Arizona Mineral and Rock Co. "earth" and local dirt.
The track is in and working at this point. We are using a PSRev reversing unit from Tony's Trains.
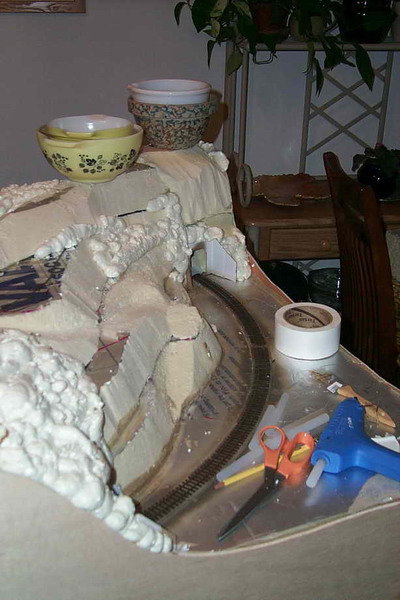
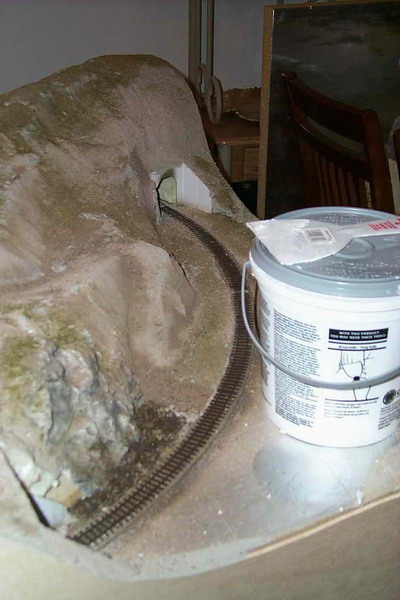
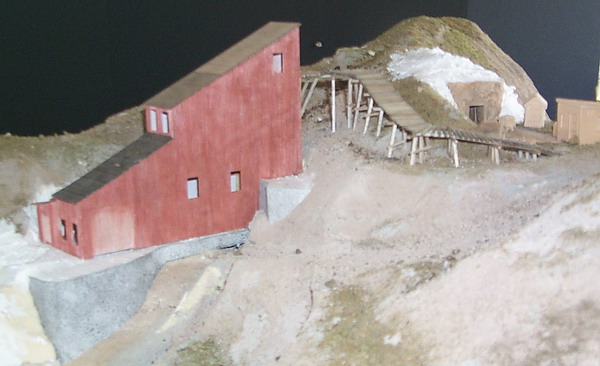
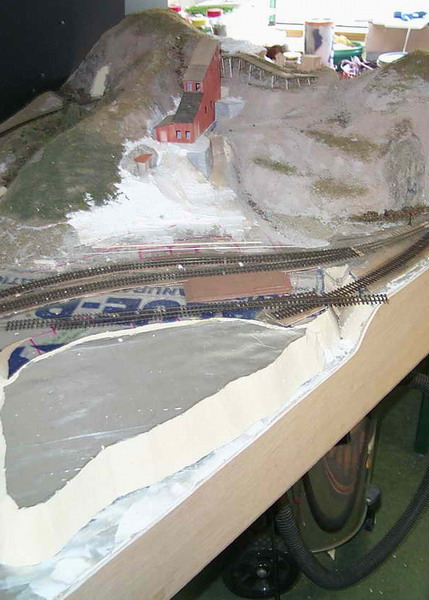
A nice view of the town site and the wharf. Starting to look good. Well here is where we departed from the California Coast idea.... May9th We also own the Las Pulgas Module and because we need to clean it up for our upcoming Symposium, we have it set up in the living room along with the new module. While spending a lot of time with a beautiful module like Las Pulgas, we decided to go with a more traditional Colorado module and changed the module over to the Leadville - California gulch mine. So here we are, the track works, it is wired up and runs great with the other modules in the club, so now we can just concentrate on scenery and what a doosey we choose. That crazy little trestle from the mine to the mill took 3 hours today..
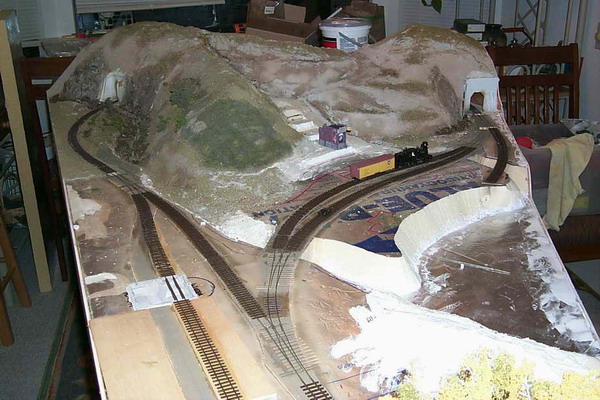
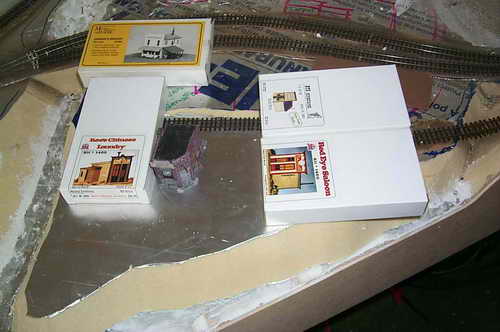
Here we are planning the town, which is a good "before" pic for a couple of "after" shots on the next page.
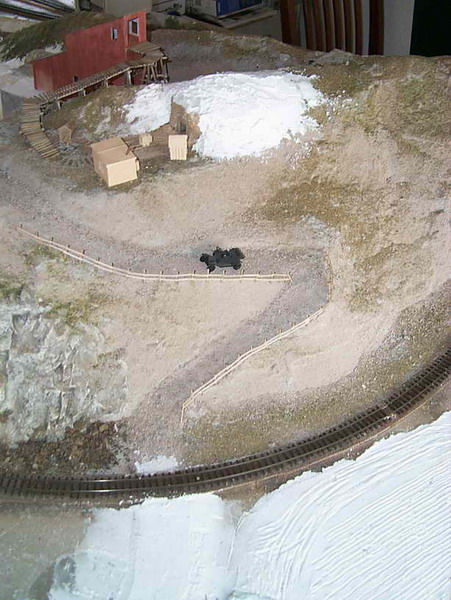
Those ridges are the earth for the vegetable stand there. That was added as a request from my Daughter who is building the veggie stand. She wants to build a SS Ltd Veggie truck but I had her settle on the Woodland Scenics "Ernie's Fruit Stand". After all, this will be her first model.
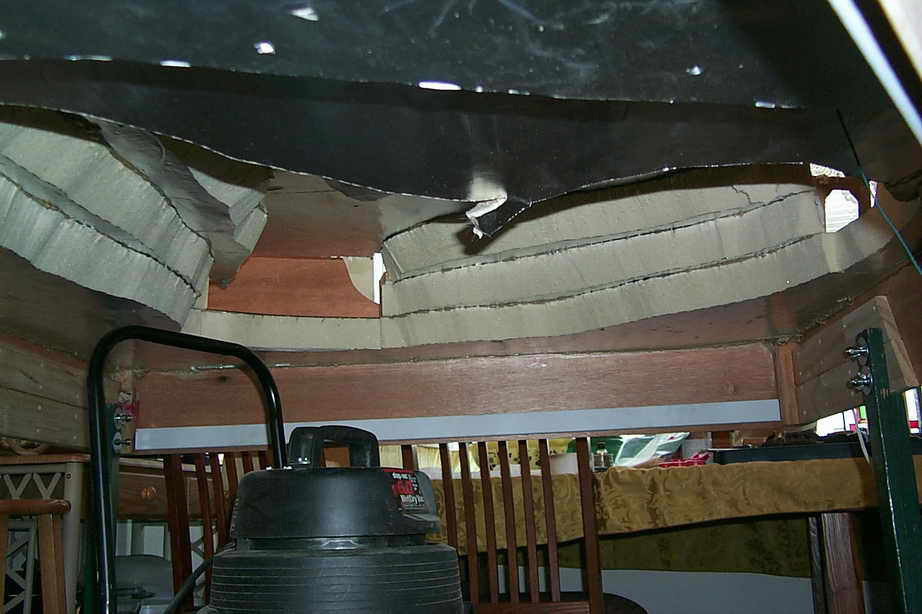
Here is a good shot of the underside. A better view to understand the inverted wedding cake idea I mentioned. Basically you cut the layer at an angle efficient enough to lay on top of the master board after the cut. Glue it down, and start again. If you are using a slow setting glue, this will take a while. Again, the best glue for this kind of construction is PL adhesive for foam.
|
|||||||||||||||